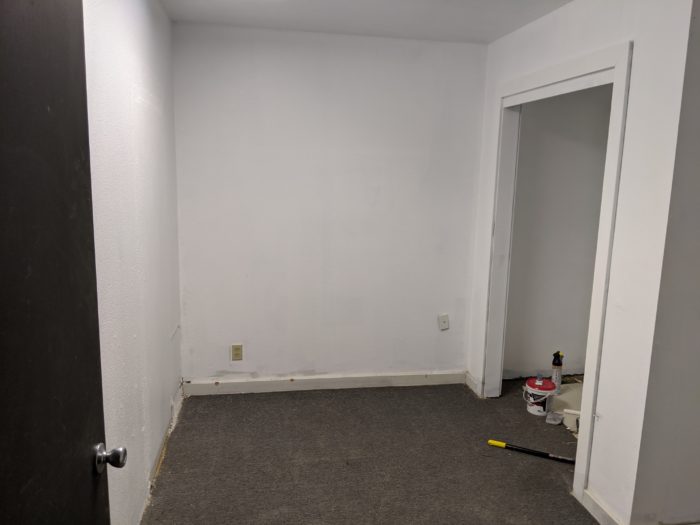
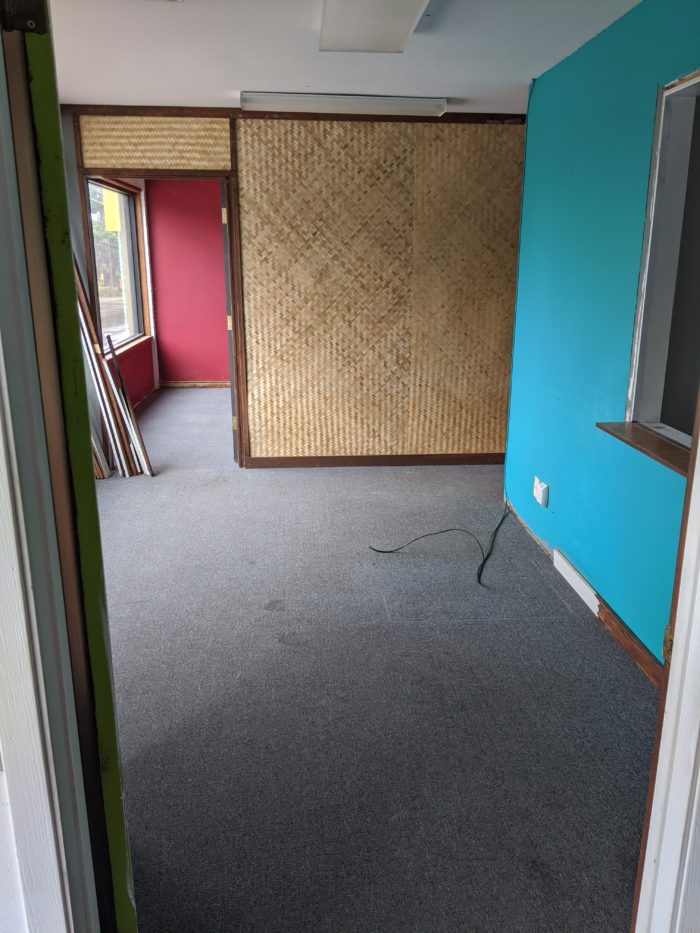
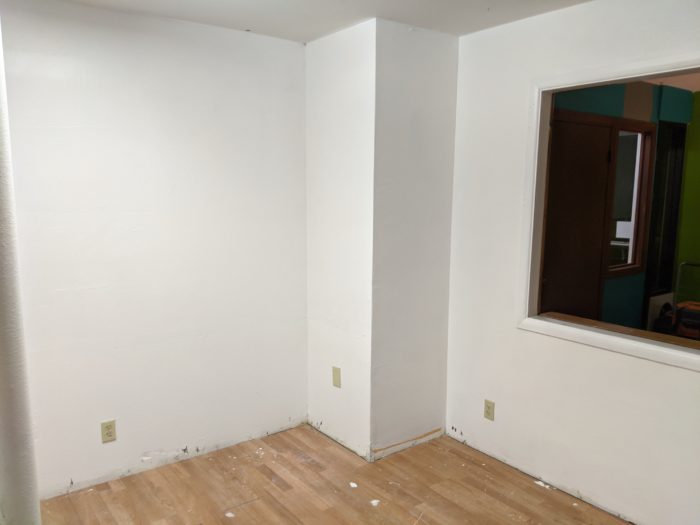
Last week we took down our escape game to close our physical location. In a weeks time we demoted our magical land back to a plain, soulless office space.
We like to think the memories of four years of magic and delight still hides in the walls. But the real takeaway is that with the right set and lighting design in an escape room, designers can make even the most normal space outstanding.
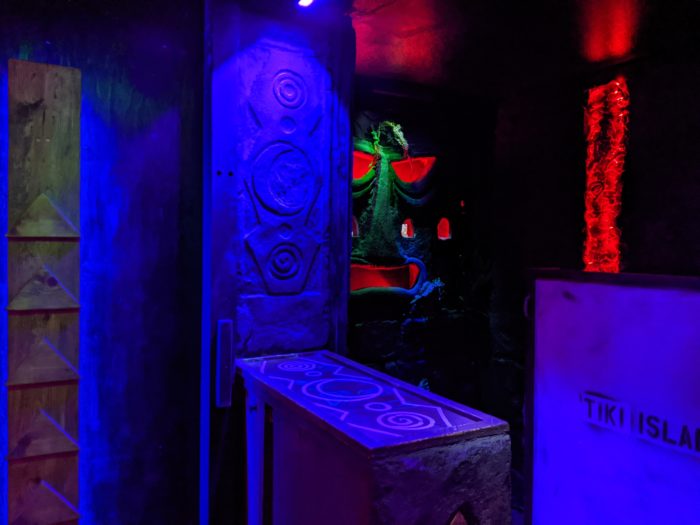
For our lost continent of Lemuria (pics above) we created rock walls for the entire set and then used a combination of LED lights from Fright Props, blacklights, LED light strips and a cheap moving light projector.
All of the lighting was from above to highlight the texture of the rocks. Light strips lit the tiki head eyes as well as the veins of lava in the walls.
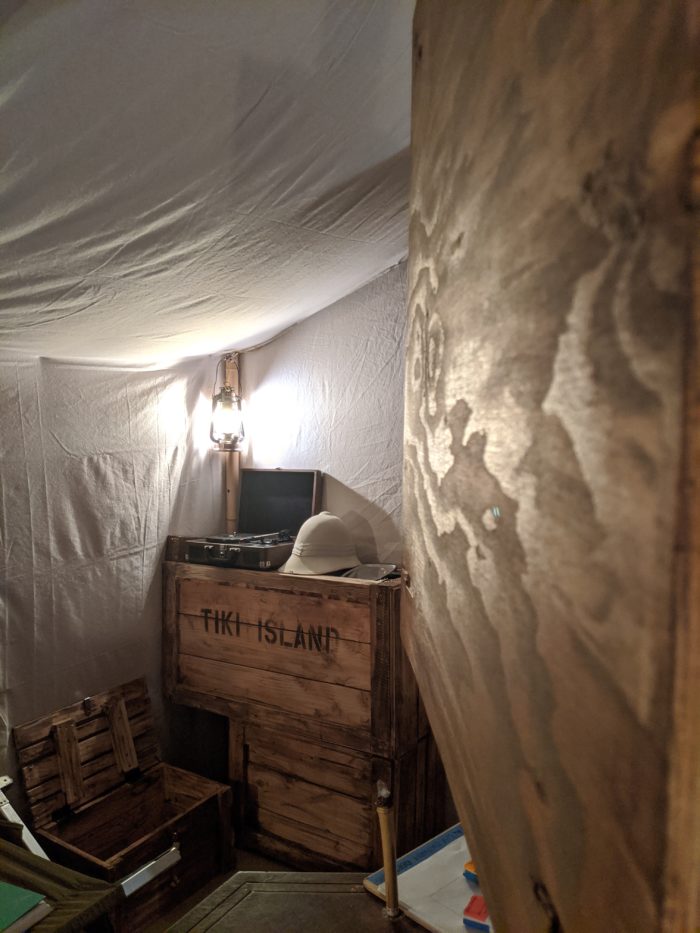
We transformed a regular room into “base camp” with fireproofed canvas. The biggest challenge was managing the huge sheet of fabric so it was applied evenly without bulges and making it human proof – so players couldn’t pull it down. This was done by adding wooden strips at intervals to keep it secure.
All of the rocks were carved out of foam, heated with a heat gun for texture and then coated with monster mud for durability.
The lighting in this room comes from lanterns wired for an electric bulb.

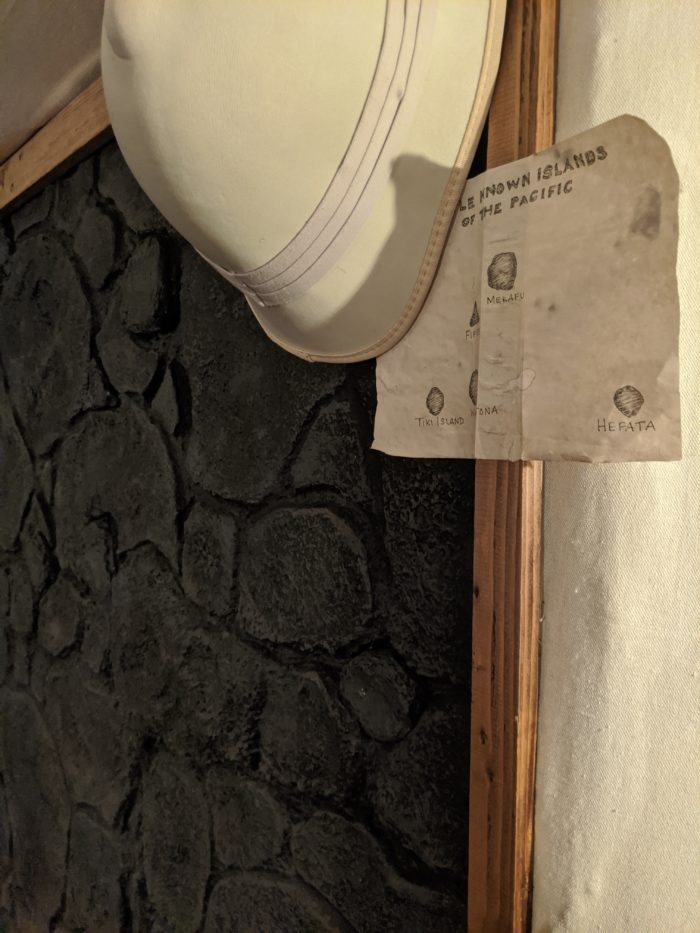
When we first opened in 2016, our lobby was minimalist in style with a green and grey color scheme. We were emulating the feel of all the games we had played in the mainland. After a year, we decided to mix things up and fully embrace our tropical theming and to style our lobby in a Tiki vibe.
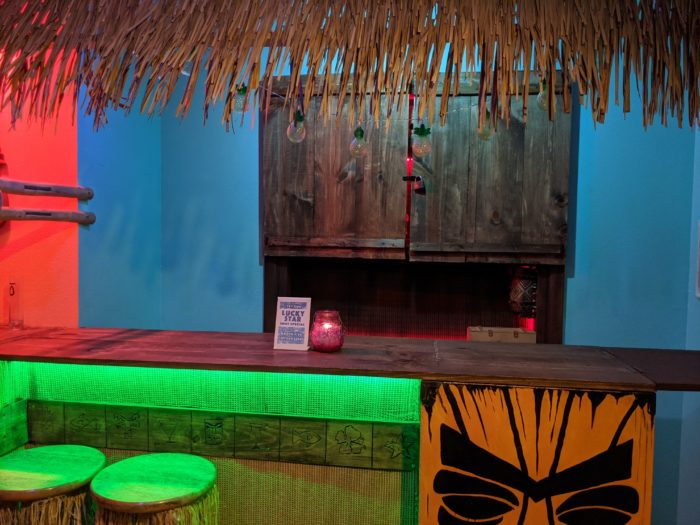
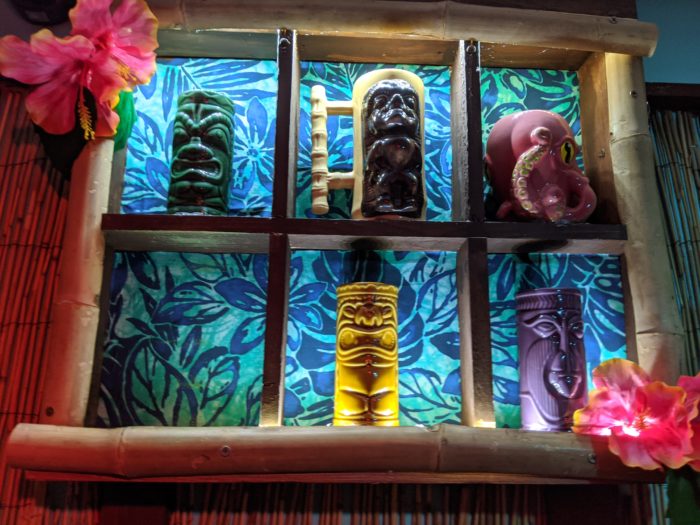
We used color lights to add to the mystery of the Tiki Lounge. There were bright colors to add interest to the set and many bamboo or natural fiber accents.
It was bizarre to take down everything we had built for the past four years, but we’re excited to devote our energy to building the Society of Curiosities game.
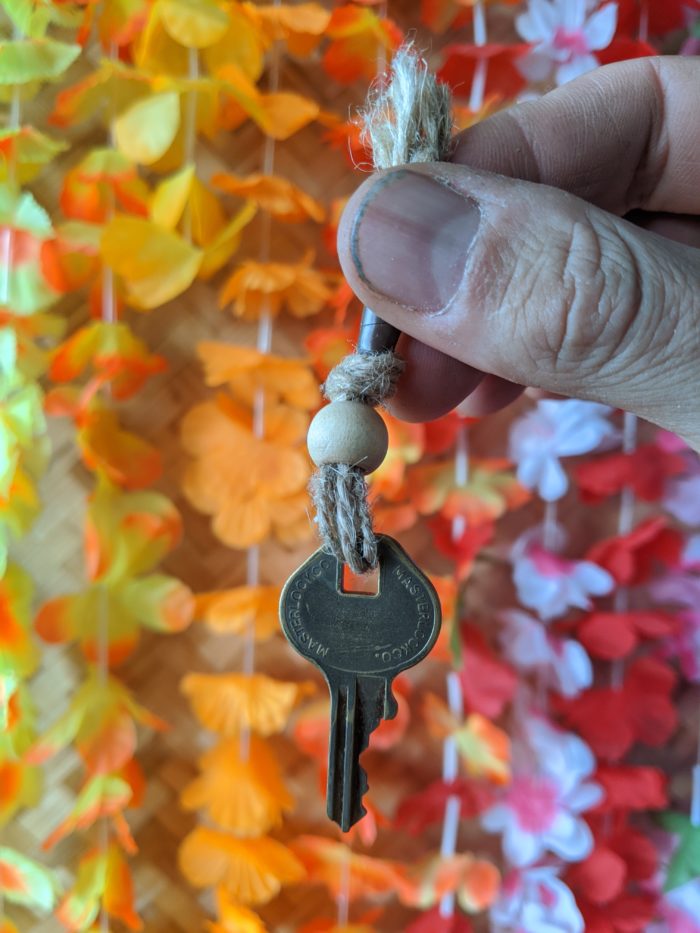
On one of the last days of take down, we found a key that had been lost for two years. Just a little sign that endings yield unexpected surprises.
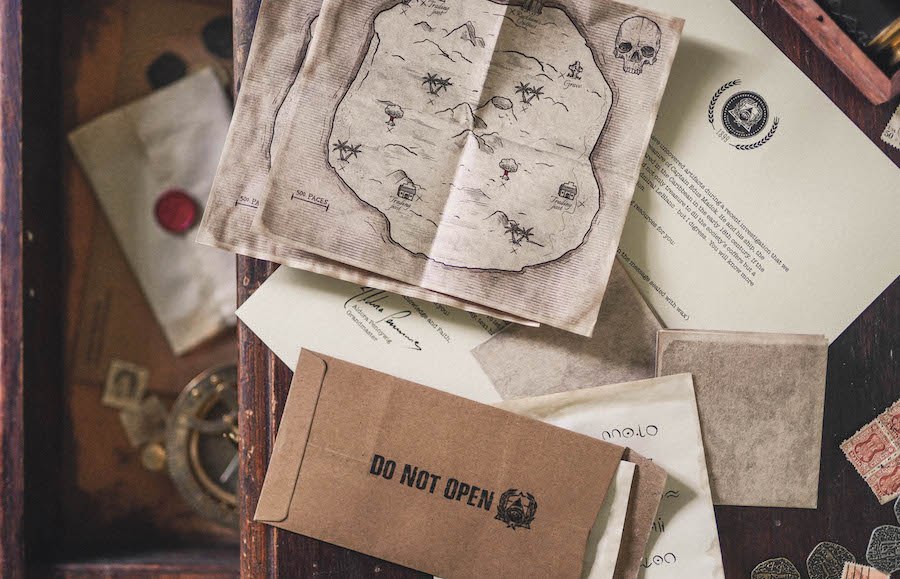
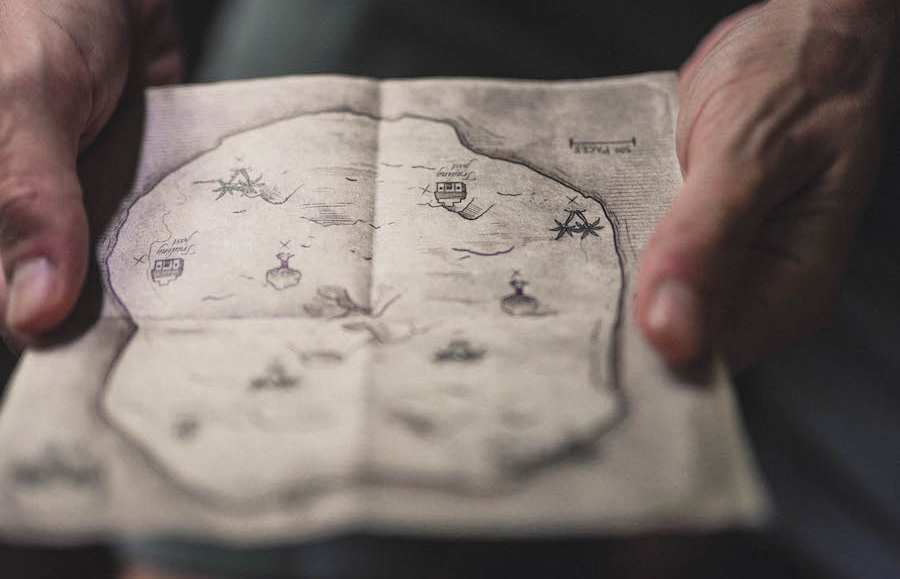
Want to support our new endeavor? Give Society of Curiosities – escape game at home a try!